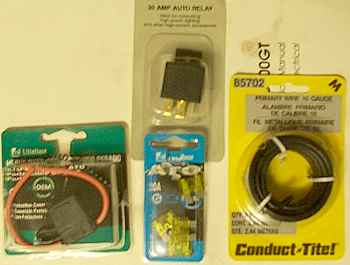
| 1. This picture shows what you need: - 30 Amp Relay - about 15ft of 10 ga. wire - fuse holder - 20 amp fuses for the fuse holder - soldering iron - solder - electrical tape |
 |
| 2. This shows the fuse holder with an eye connector soldered on. The side with the eye bolts right on to your battery terminal. | 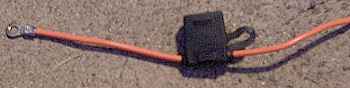 |
| 3. This shows the side that is going to the battery all sealed up with heat shrink tubing. You can use electrical tape also. I just think heat shrink tubing looks cleaner. | 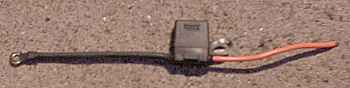 |
| 4. This shows the fuse holder connected to the battery and also crimped onto the 10ga. wire. I had a 100-ft roll of 10ga. laying around and so my wire changes from black to white because I decided to use the continous strand rather than crimping 5-ft pieces together. | 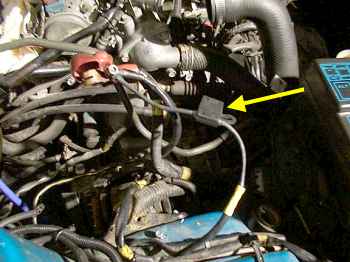 |
| 5. This shows the wire loom zip tied to the existing brake lines that run along the firewall. You probably won't be able to get them under the brake lines like I did because you probably won't have the turbos out when you do the install. Anywhere back there is fine. Be sure to loom all wires you run in the engine bay to keep them from getting to hot. | 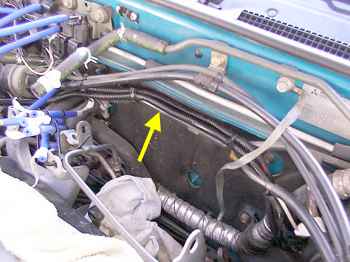 |
| 6. This shows the hole in the firewall where I ran the wire through. If you havn't run any other wires just get a drill and drill a small hole through this area to allow the wire through. | 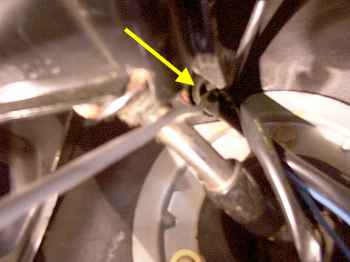 |
| 7. This is a picture of the door sill trim removed. You have to remove this to run the wire along under the carpet without too much hassle. | 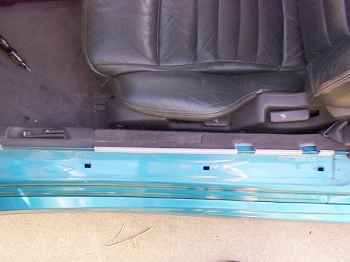 |
| 8. This picture shows the other trim piece removed that surrounds the trunk pop and fuel door levers. | 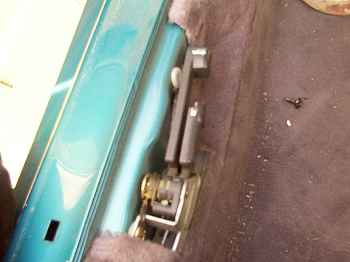 |
| 9. This is a picture of the trim piece in the previous step. | 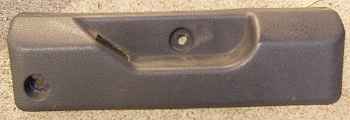 |
| 10. Here you can see the carpet pulled back giving you plenty of room to run the wire down underneath it where noone will ever see it again! | 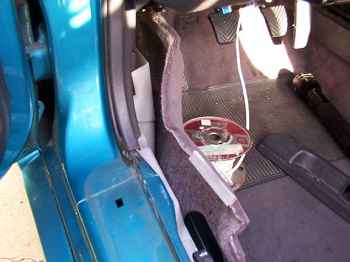 |
| 11. This shows the back seat bottom removed (it's really easy, just pull the tabs under the seat and pull up) and the wire run accros the door and waiting to go under the side trim panel. | 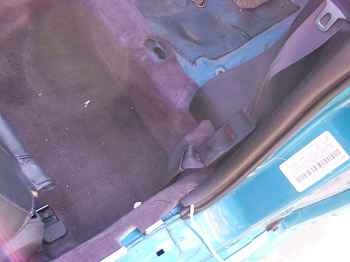 |
| 12. This shows the coat hanger used to fish the wire under the trim panel pushed through to grab the wire. Just tape the wire to the coat hanger and pull. |  |
| 13. Voila! The wire is run under the panel. | 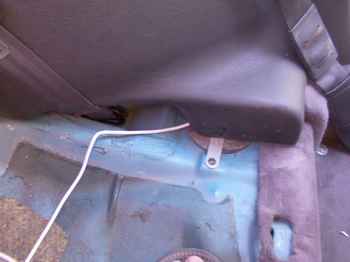 |
| 14. Tuck the wire underneath the seat back and run it under the trim as much as possible. I taped it to the floor here where it has no trim to hide under. | 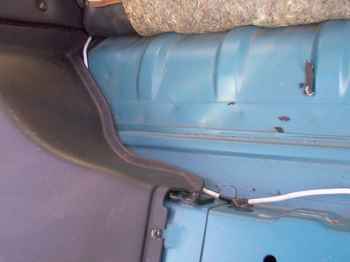 |
| 15. This shows the carpet put back, and look the wire is almost hidden. | 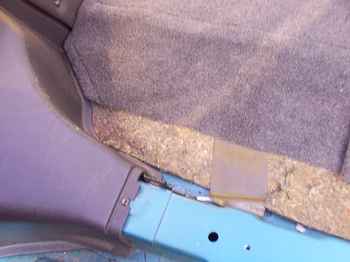 |
| 16. The wire is run to the panel on the passenger side and then underneath the panel. It is run over the hump and into the trunk. | 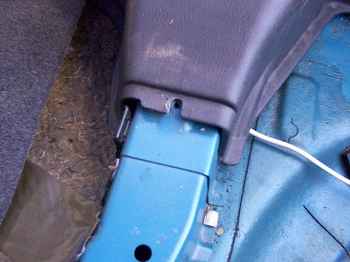 |
| 17. Now run it under the trim pieces so it won't show and then right over to the cover to the fuel pump assembly. | 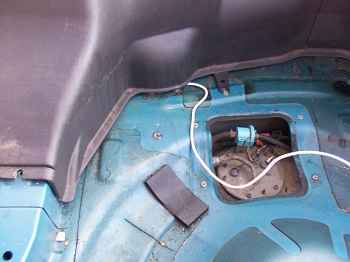 |
| 18. Take the blue thing out and unhook the stock wiring harness. This gives you more room to work as you are crouched in the trunk of your car. | 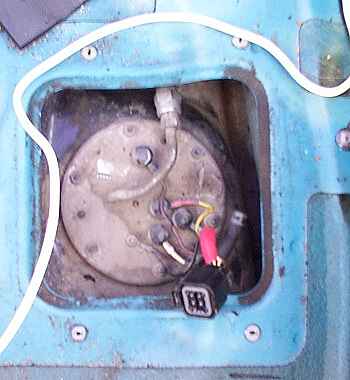 |
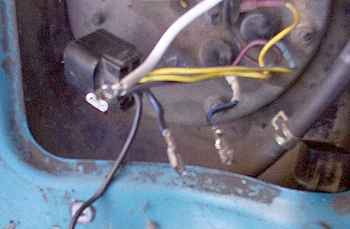
| 19. This shows the stock power wire to the pump (look how small and dinky it is!). Just cut this wire and put the wire connectors on it so it will just slide right onto the relay before you soldered them on. Stock wiring assignments: Black w/ red stripe: Ground Black: Ground on pump assembly frame Black w/ blue stripe: Power Yellow: Fuel gauge Yellow w/ blue stripe: Low fuel warning |
 |
| 20. This wire I made to ground the new relay to. | 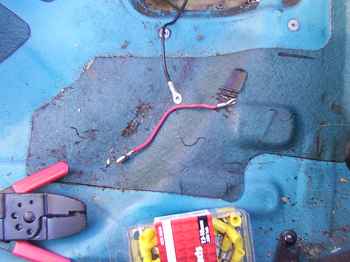 |
| 21. This shows all the wires soldered onto the relay. | 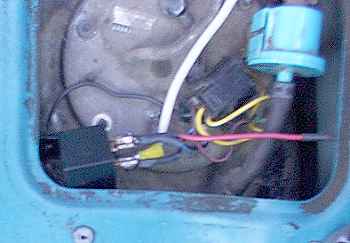 |
| 22. All put back together and you can hardly see anything. That tray will cover it right up! | 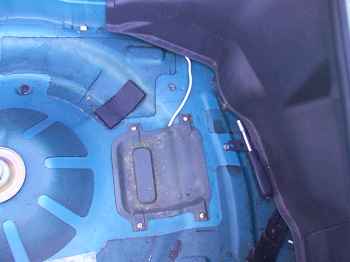 |
| 23. Seat and door trim all back in and you can't see anything. Noone will know! | 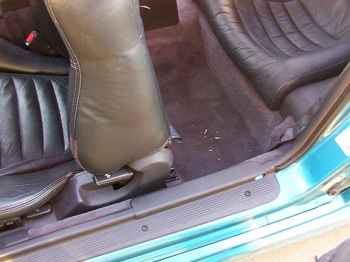 |